I have an affinity for jewelry, I'll admit it. I'm a girl, so I feel it's okay. I have a couple of jewelry boxes already, but some things are difficult to store. Like most women with a thing for jewelry, I have more earrings than I know what to do with. It had gotten to the point where I no longer had room in my jewelry box for any new pieces, and it was becoming more than a little difficult to sort through what I had, despite having organized them into different spaces in the built in storage tray in the jewelry box.
Long story short, it was time for a change,
I decided to make myself a earring storage and display device that I could set out on the top of my dresser, that would allow me enough room to hold all of my current collection, as well as expand it and not have to develop a new storage system anytime soon.
The answer came in the form of upcycling.
I went on Craigslist and looked for used windows for sale. I found a guy who lived not too far from me who had a whole stash of used windows that he had removed from his home as part of a remodeling project. I went to see him, had an awesome conversation with him, and bought several windows from him.
I chose one of the long, slim windows to use for this project. This particular window measures approximately 40" x 18". I removed the storm pane from it, brushed off the loose paint with a stiff bristle paint brush, and lightly cleaned the glass (I say lightly because I wanted to keep the rustic look it had. I didn't want it to look overly done up or commercialized.)
The next step was a quick trip to Home Depot to buy a roll of window screening and some upholstery nails.
After my supply run, I came back to Interlock and got started in earnest. I will fully admit that I did not follow any safety protocols for this project. I wasn't wearing safety glasses, steel toed shoes, gloves, a hard hat, or ear protection.
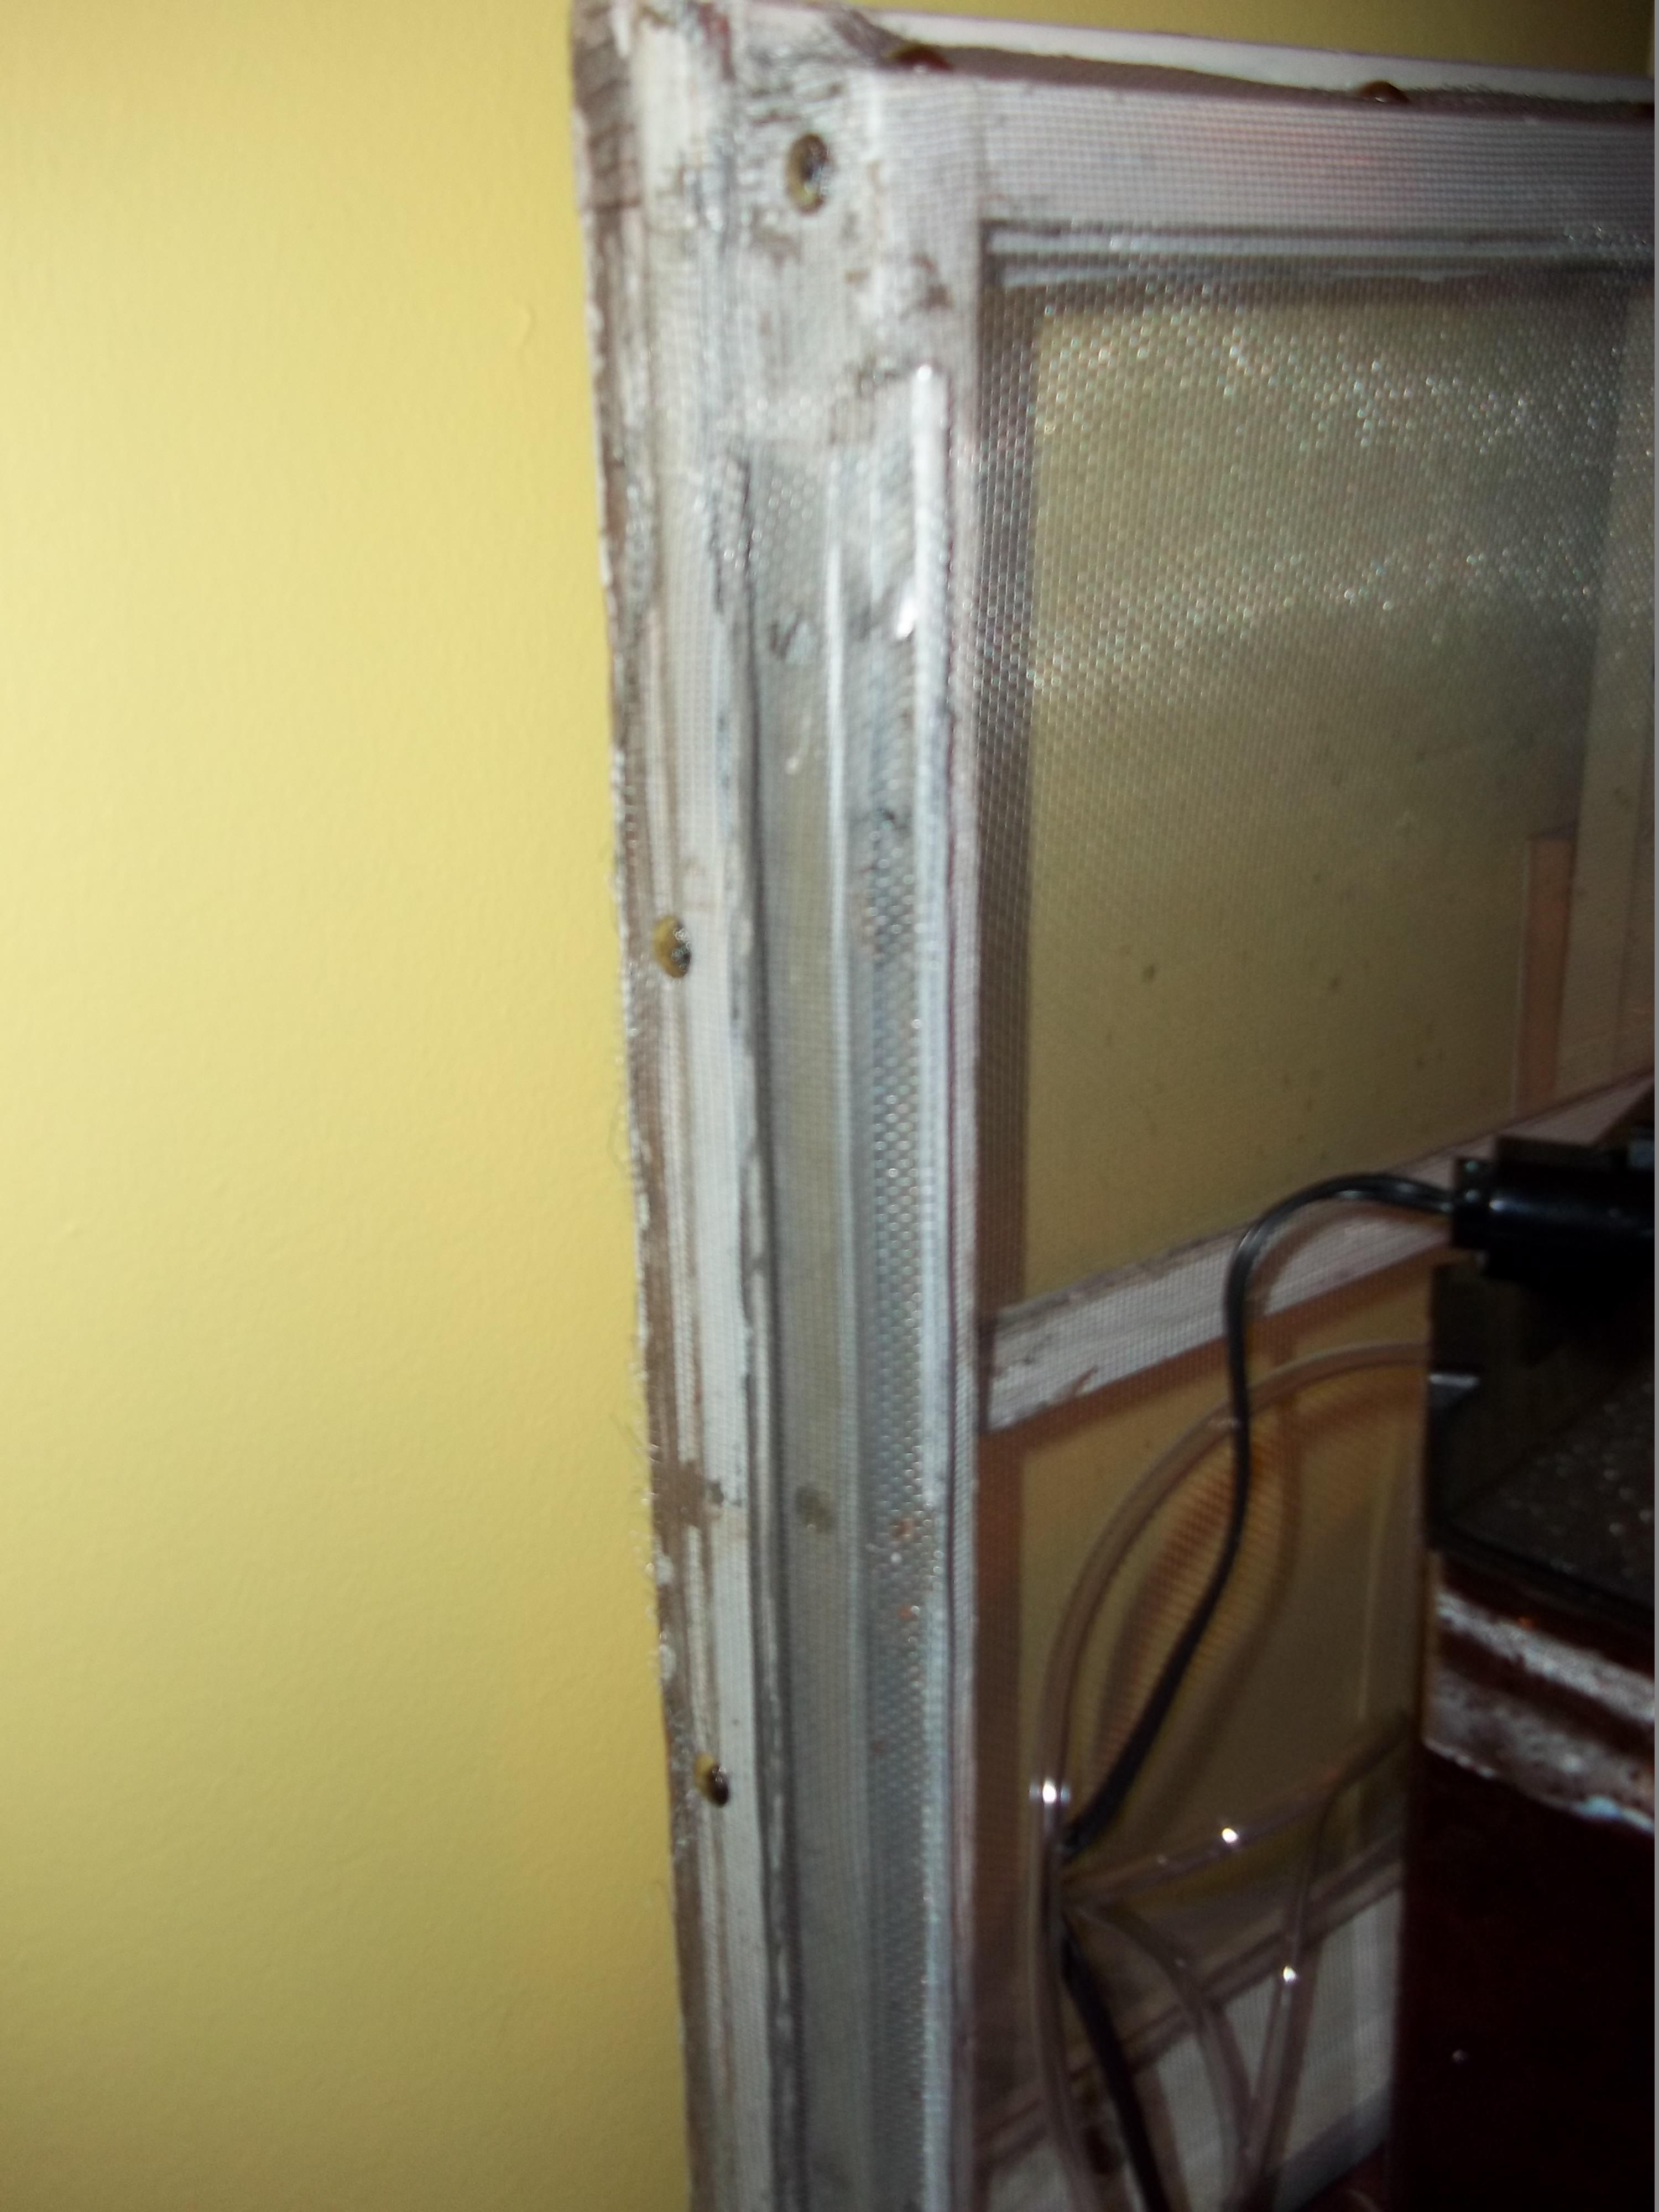
Instead, I cut the screen to size with a dull pair of tin snips I had laying around, and propped the window on a padded desk chair to nail the screening on.
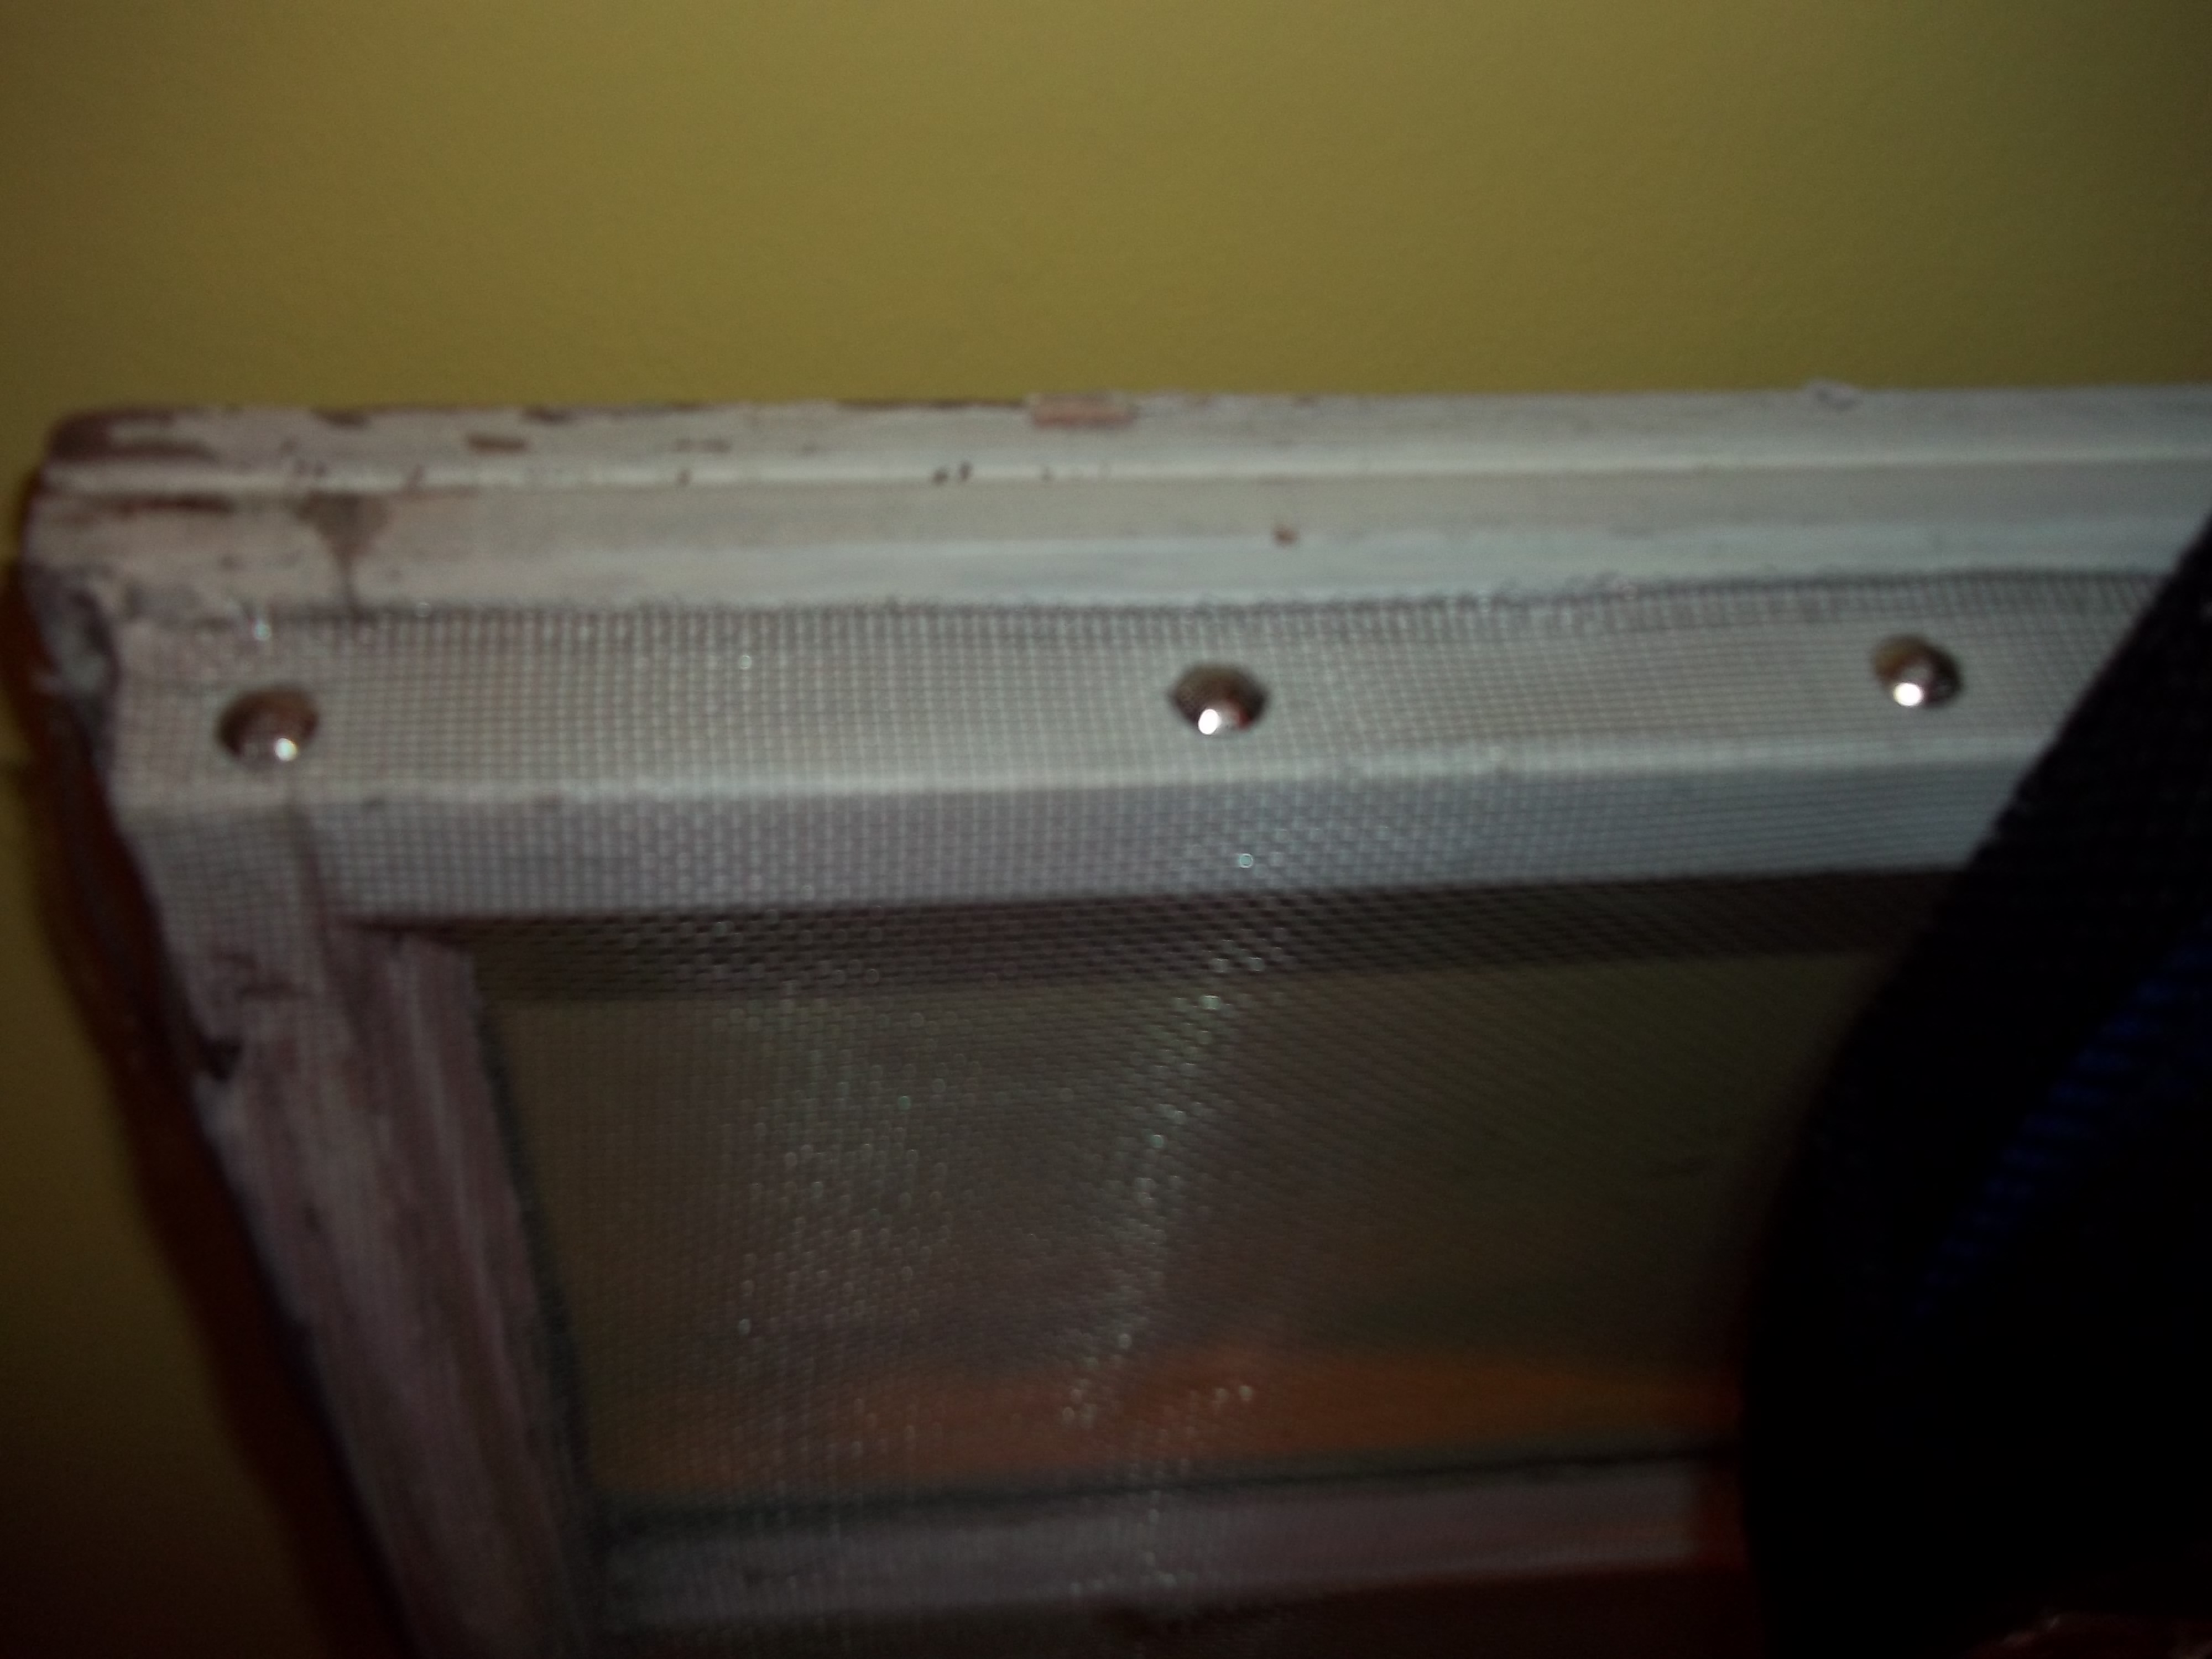
I used a basic claw hammer to attach the screening to the wooden window frame. I was actually a bit surprised at how easy it was. I tacked one of the long sides on first, then stretched the screening tight across the frame and tacked on the opposite long side. I stood the window up on the floor to attach the short side and then trimmed off the excess with my snips.
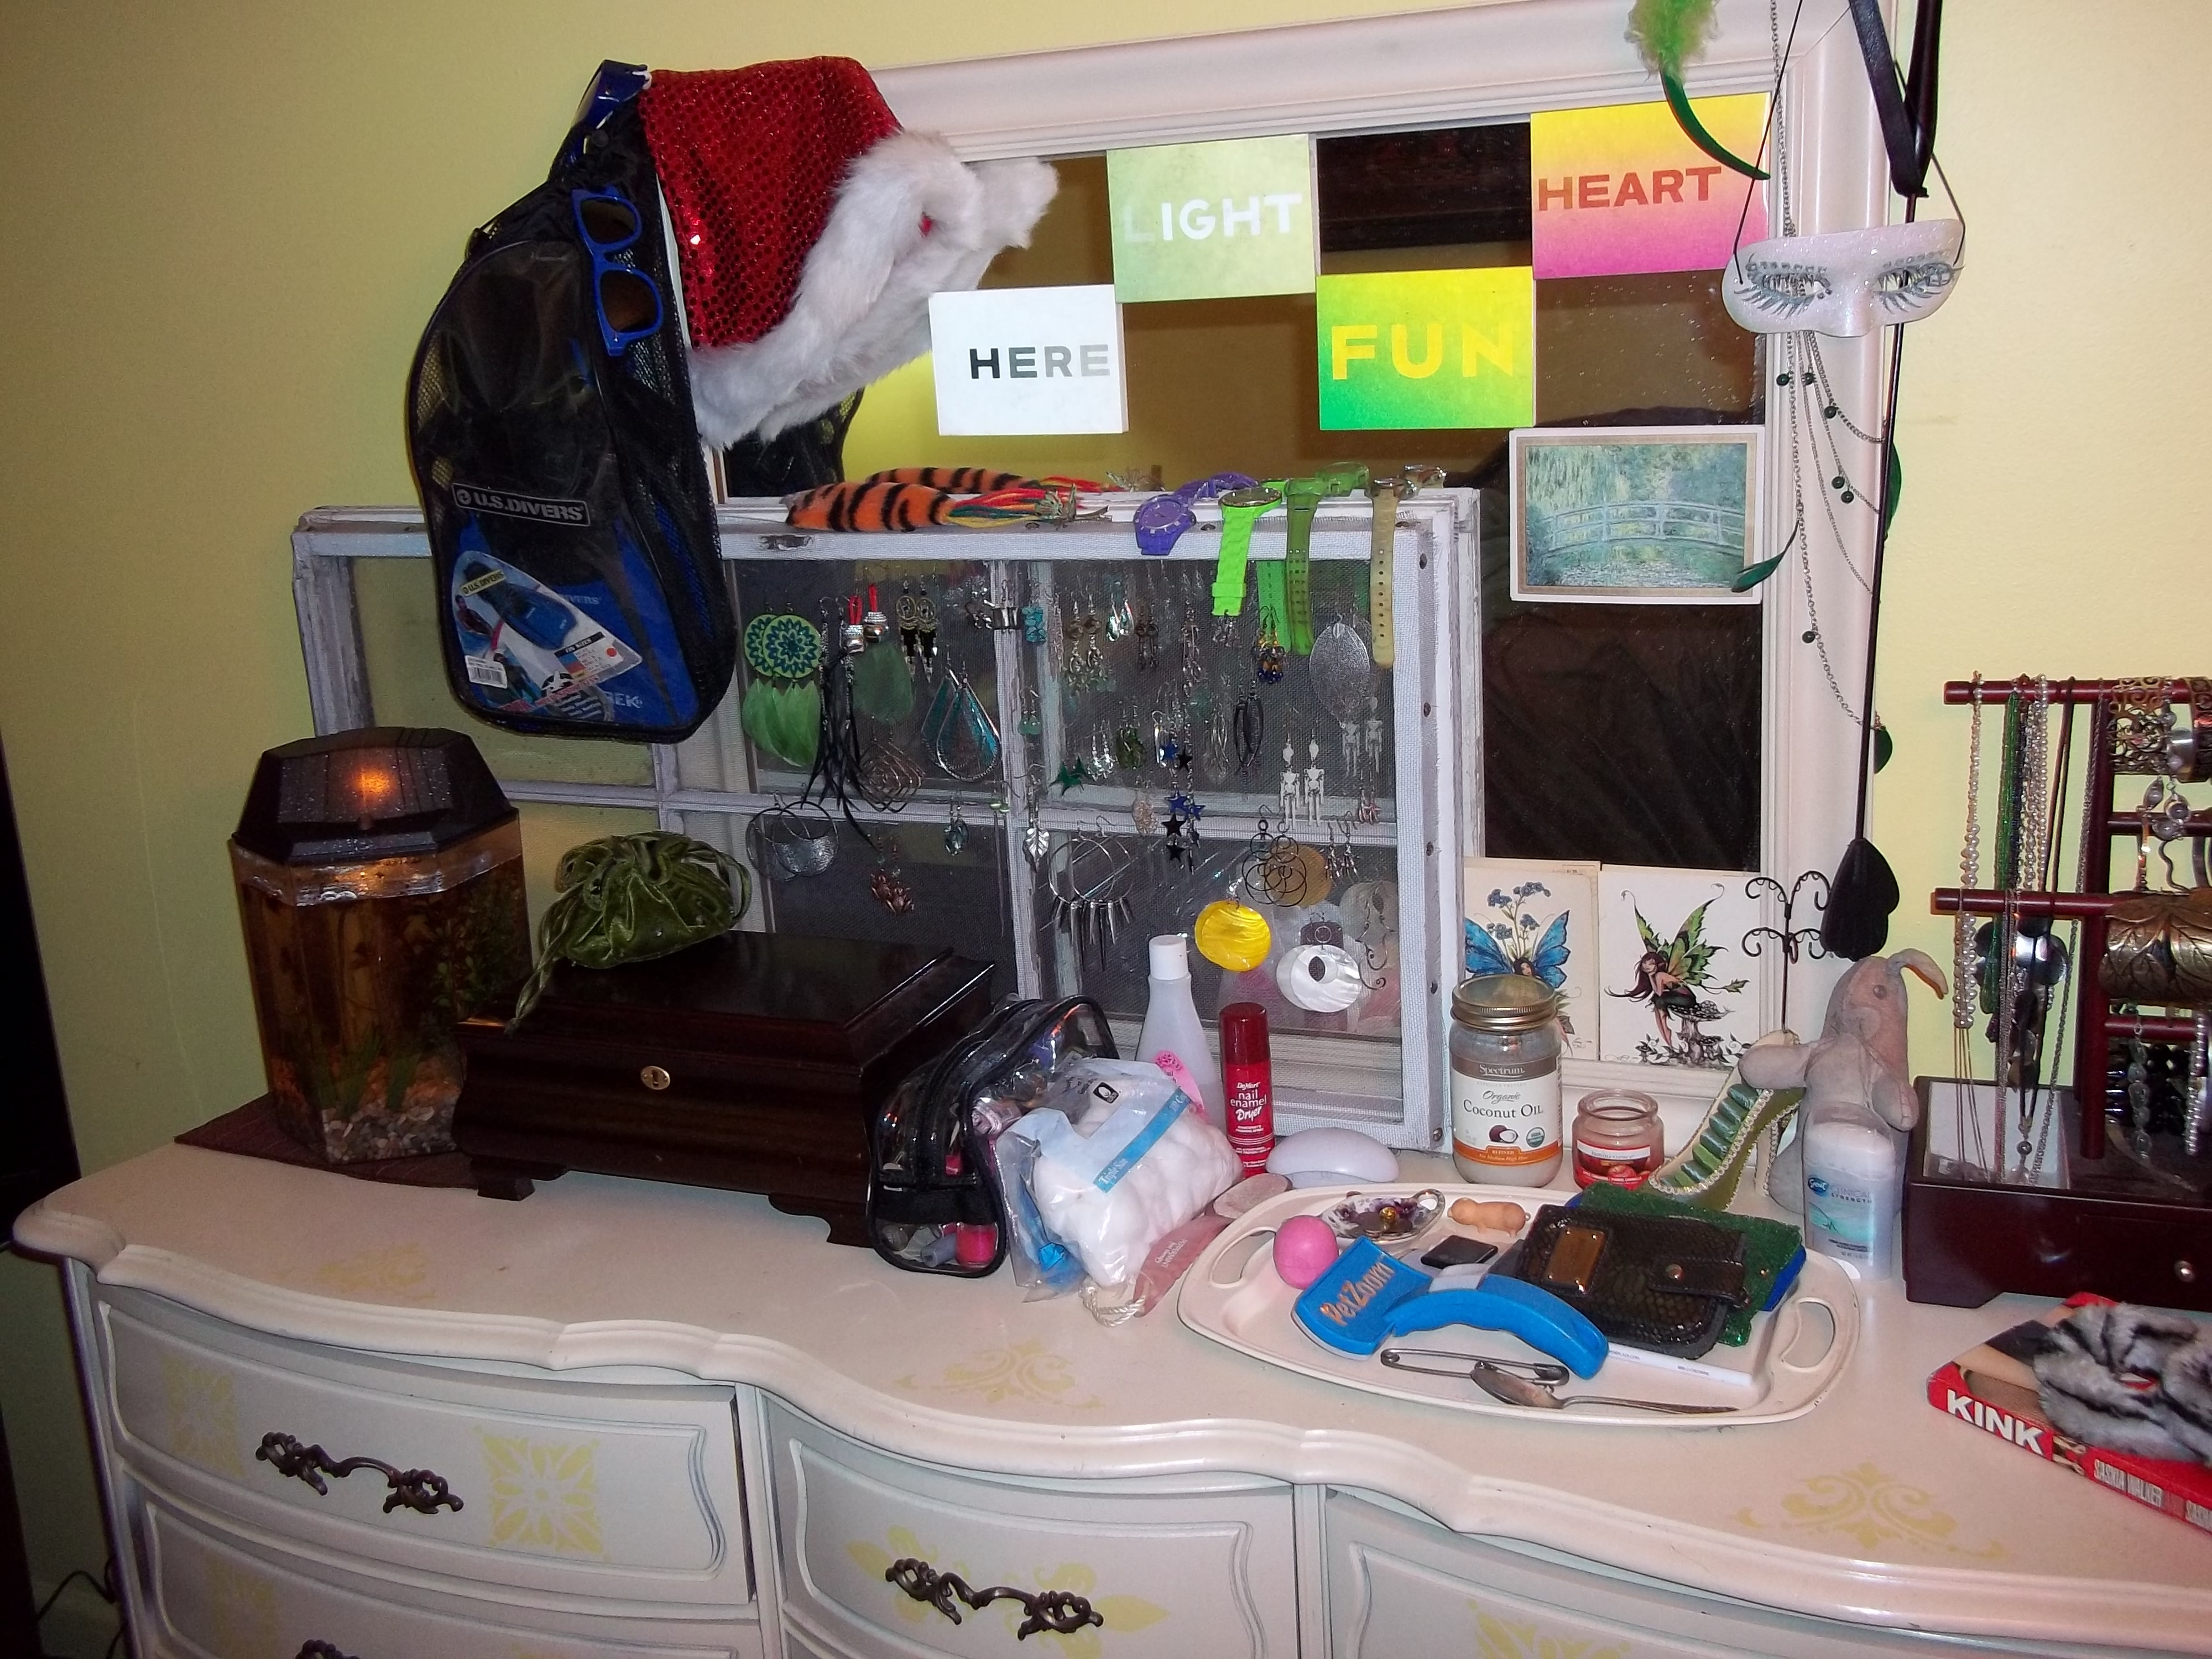
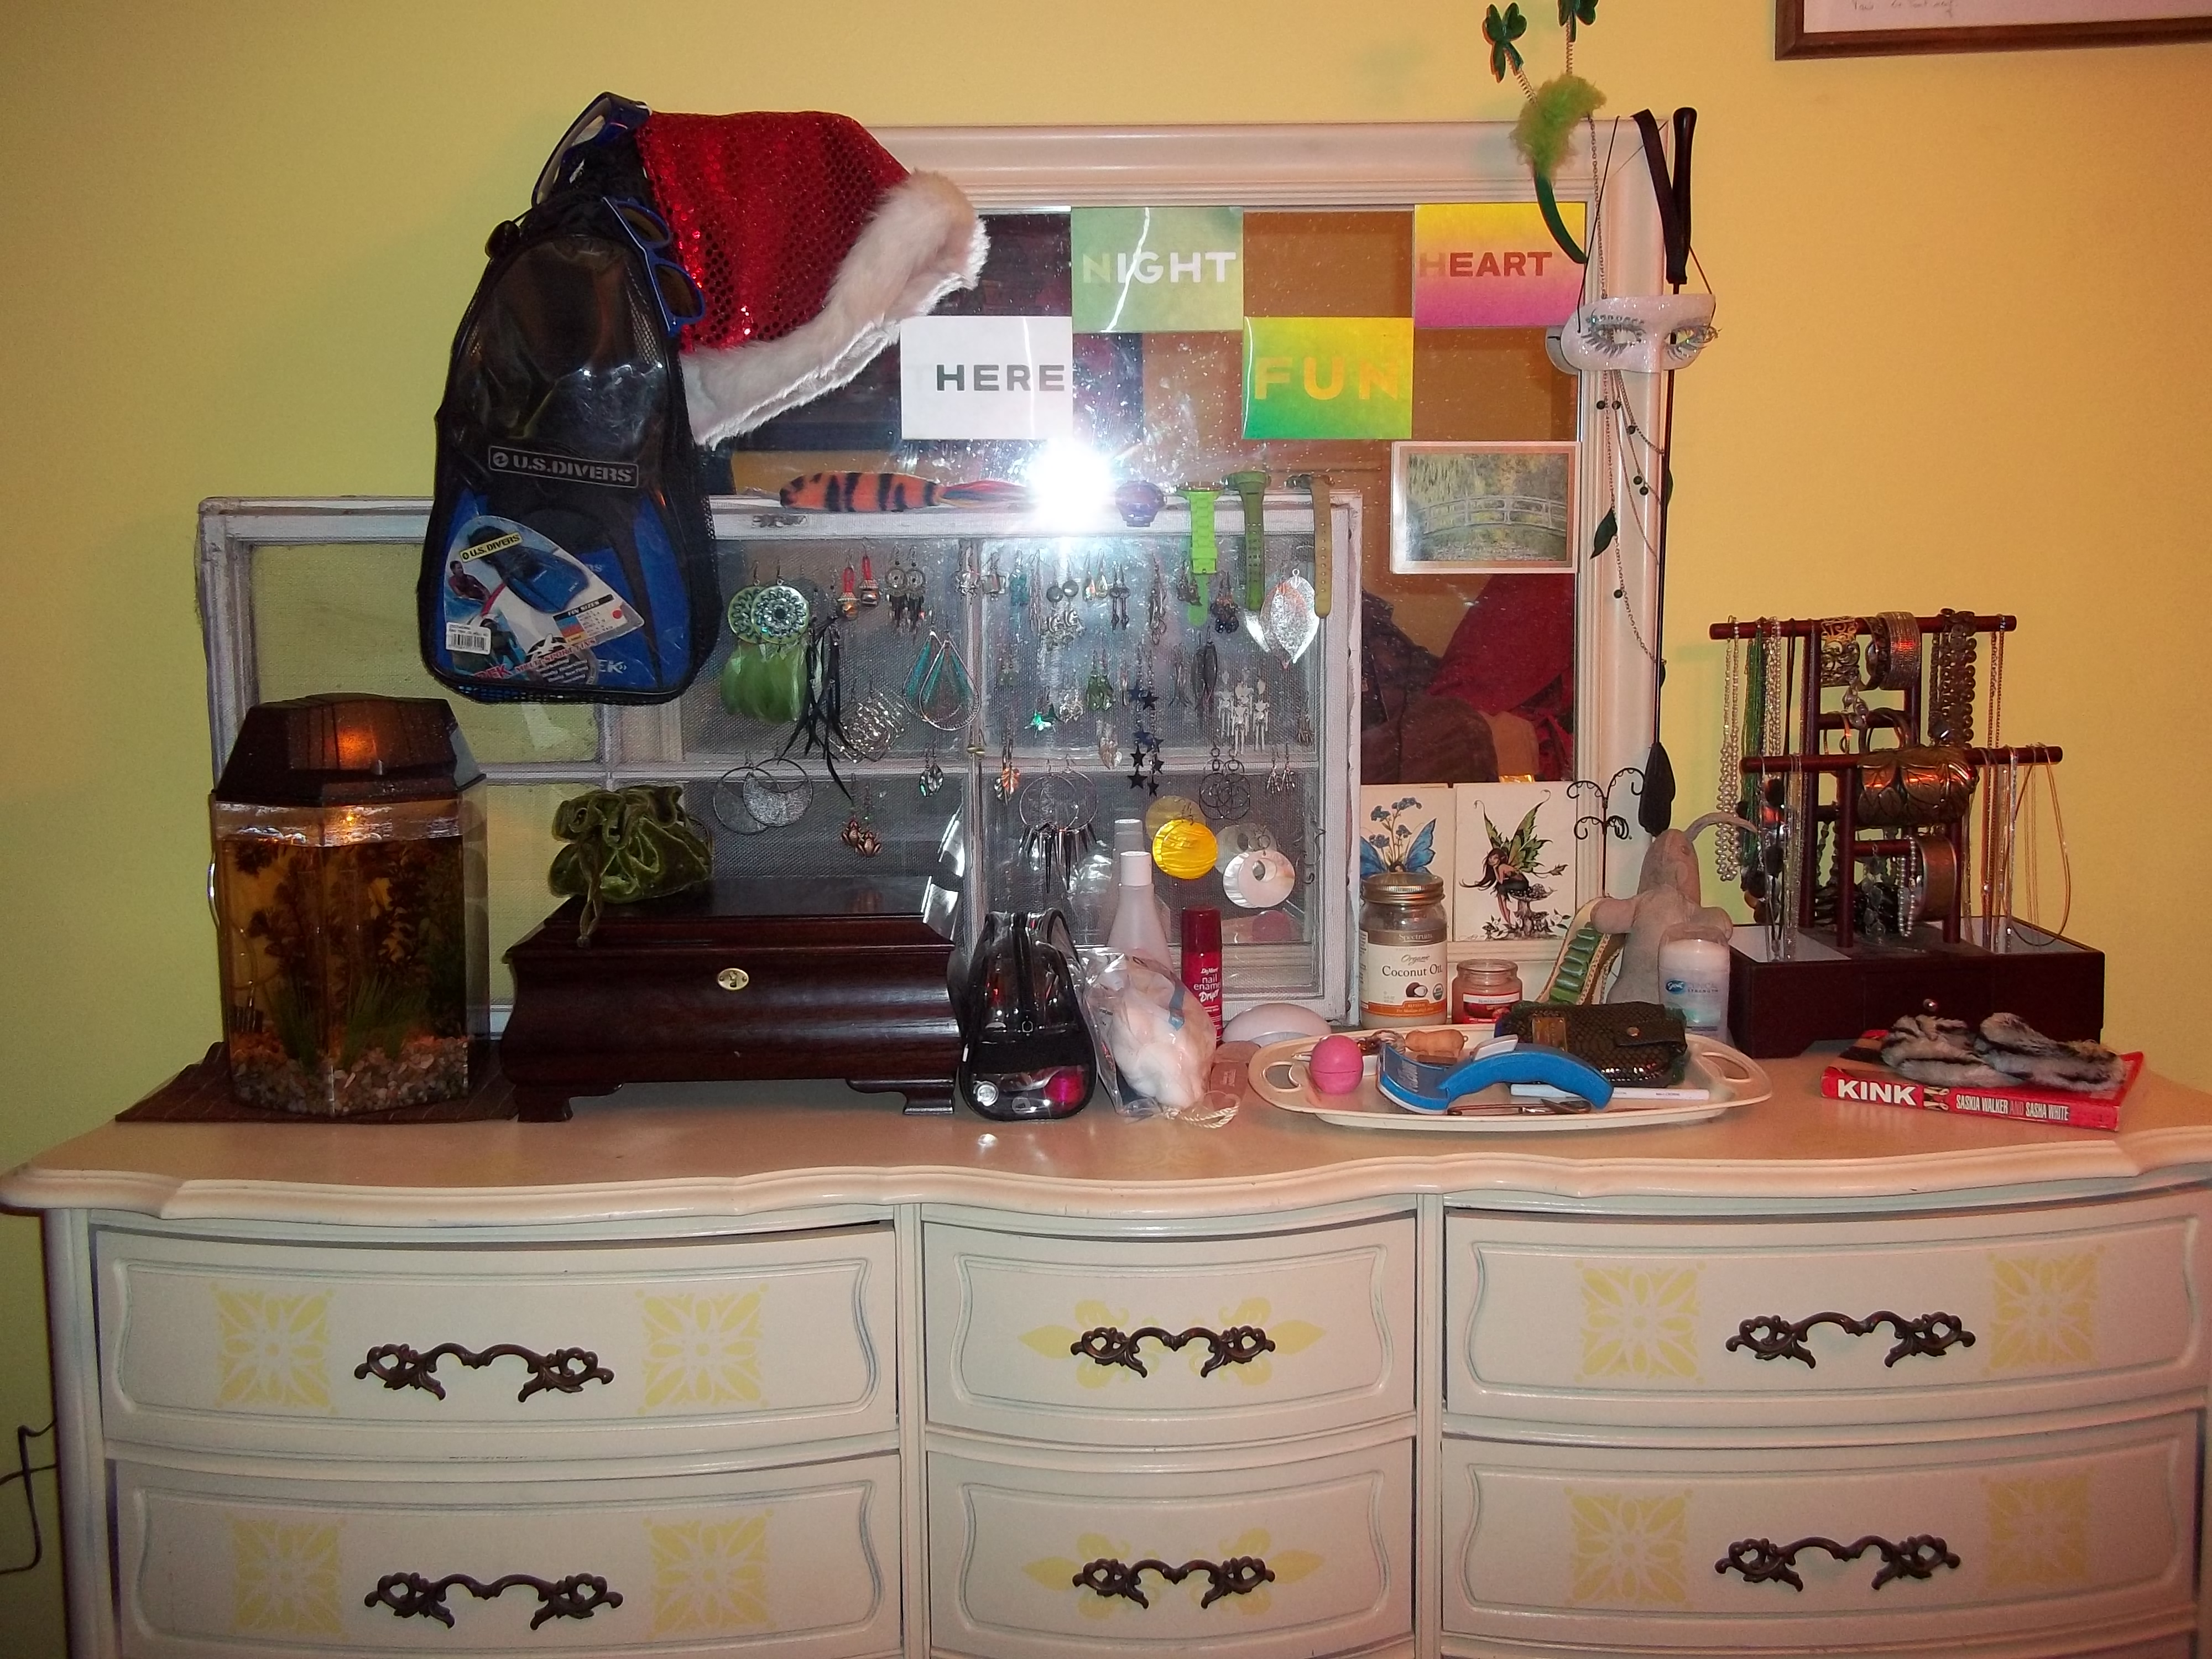
I took the newly screened window home and placed it on top of my dresser, anchoring it in place to protect from feline related accidents/crashes by placing one of my jewelry boxes in front on if and looping a pair of swimming flippers I have hanging from the attached mirror on my dresser over the top corner. Improvised solutions people, they work.
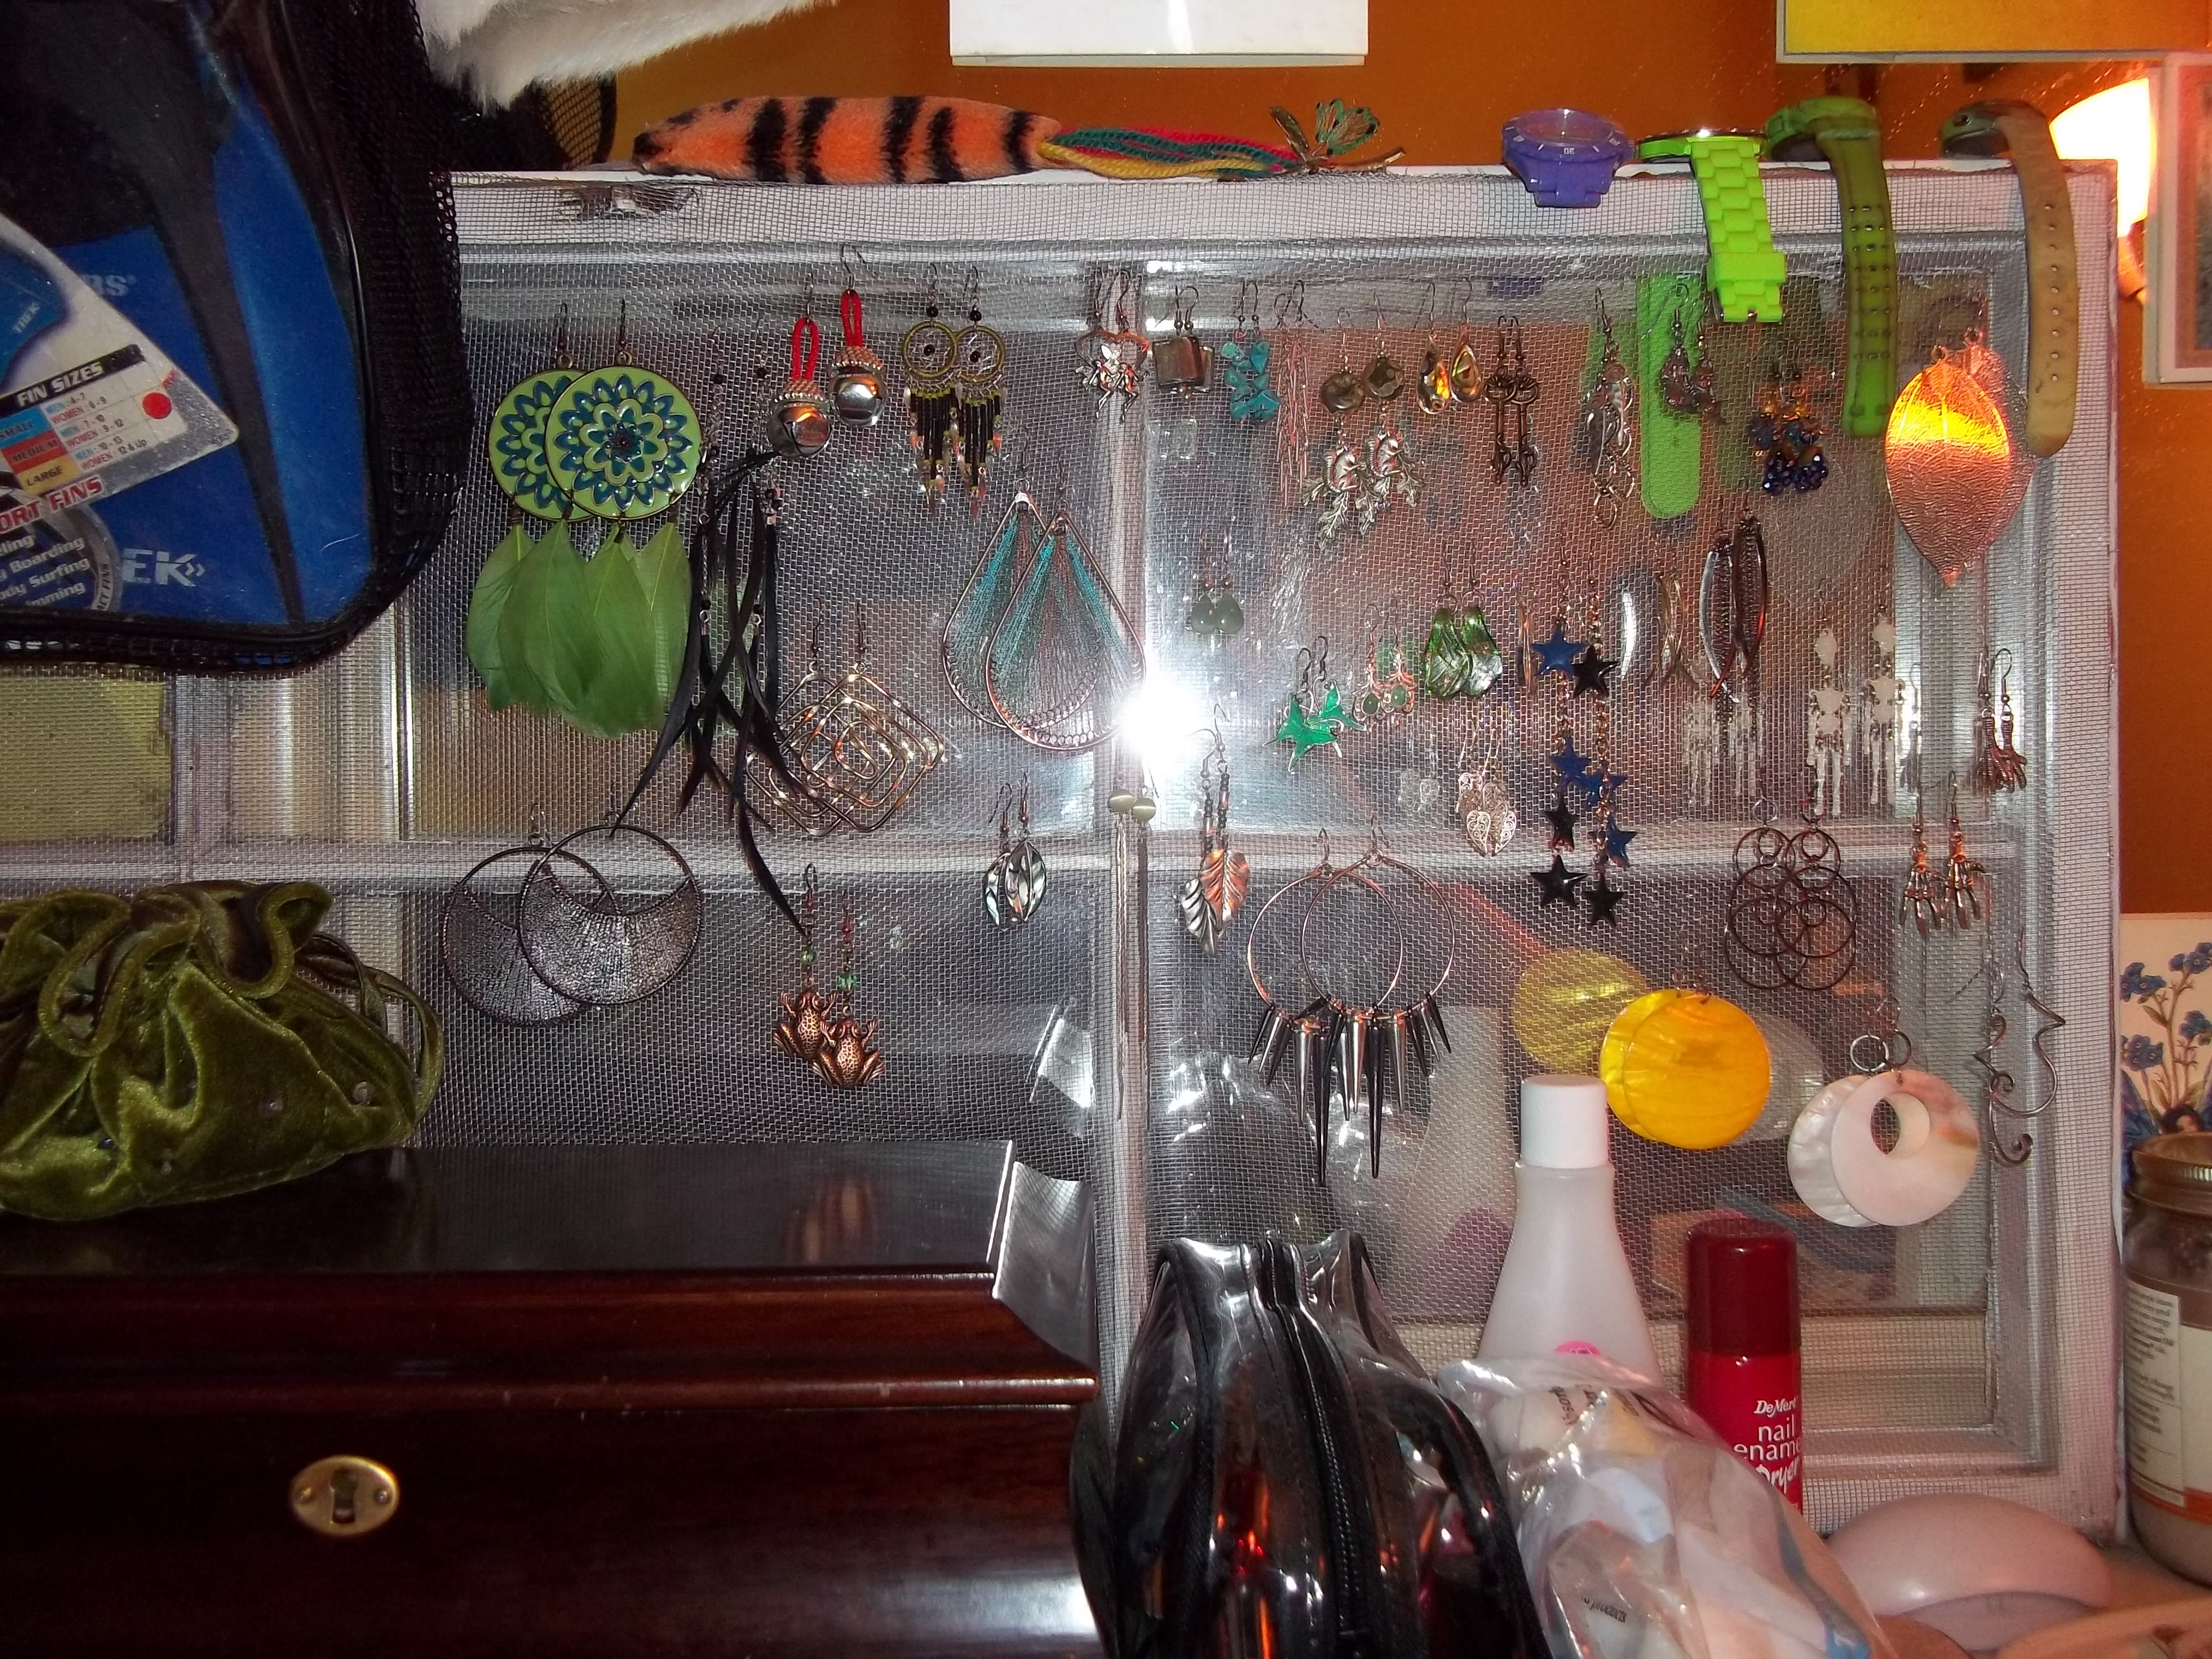
Once it was in place, I hung each pair of hook backed earrings I own onto the screening, setting their backs aside into a small bag.
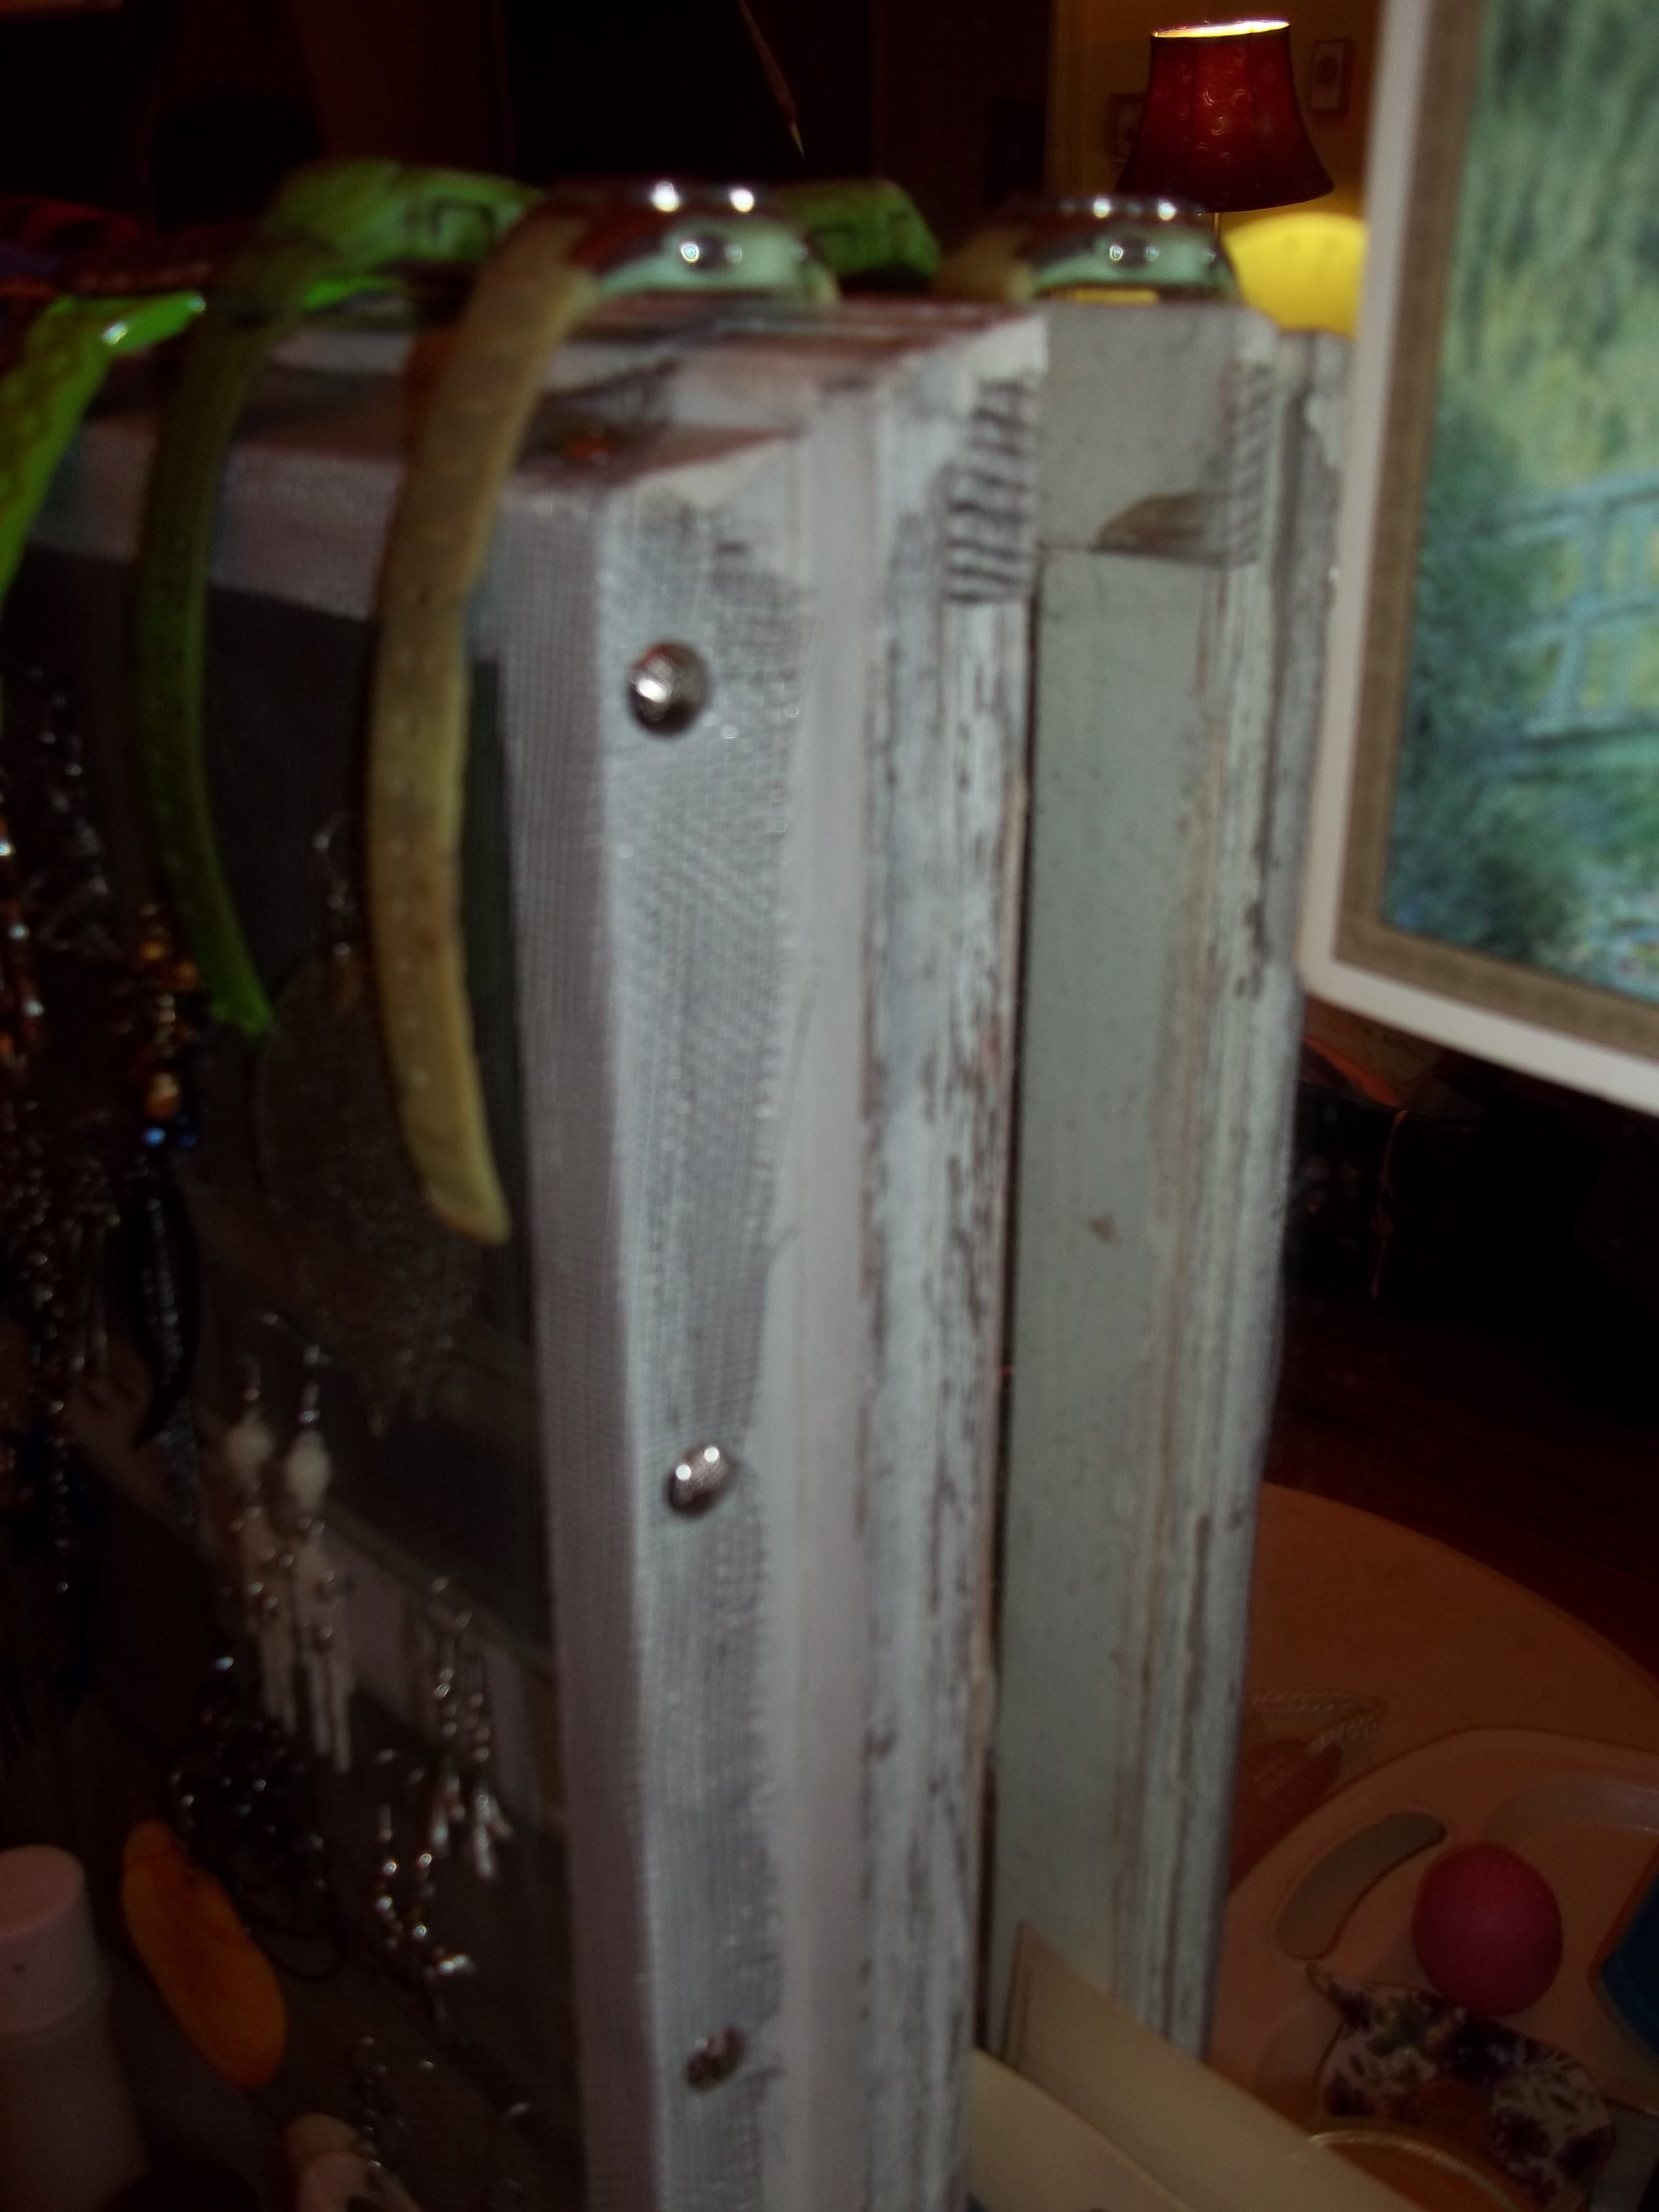
Here are some pictures of the finished product in place, and covered in earrings.


And here are some close-ups of the tacks attaching the screen to the window frame:
All said, it took about 20 minutes to make, and 20 minutes to fill up with my collection. I have plenty of room to expand into as my collection grows, I can move the whole thing pretty easily, and if I wanted to turn the whole thing 90○ and set it on the floor, propped against the wall, I wouldn't even have to take the earring off and put them back on, they will just rotate with the window.
I think the total cost of this project was just under $10, so I think it was worth it.
You can do this same thing with a window with no glass, but I like that the panes are still in it, it adds a certain je ne sais quoi.
If you decide to replicate this process, please be careful. If you don't know what you're doing, or aren't sure if you know what you're doing, ask for help from someone in the know.
Happy Craigslist Hunting!