Some nights when I head to Interlock, rather than having one single project, or a part of a larger project to work on, I have a bunch of little things I want to get done. They have the tools and materials I often need to do this. This past Tuesday was one such night. I had four things I wanted to work on, and I got all four done!
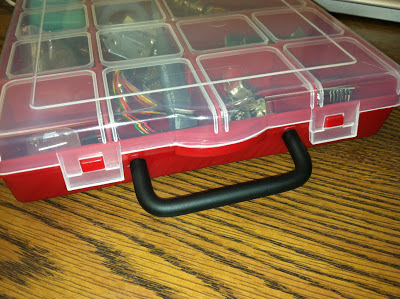
1: I like to put handles on things. My favorite handles are from Lowes or Home Depot, and are called "wire drawer pulls" as seen in the image above. They're relatively inexpensive at about $2, and are simple to install. Generally they would be put on drawers in a modern kitchen or a clinical-type setting, but I like to put them on everything. If something is portable, it should have a handle. I just drilled two small holes in the plastic parts bin seen above, shoved the screws in from behind with some washers, and done! I've used these handles for portable drive carriers, and other now-more-portable things.
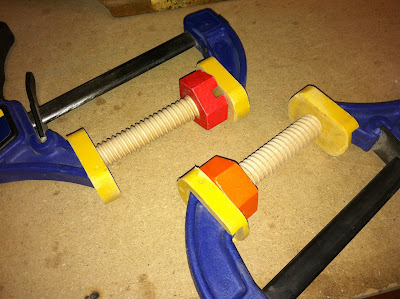
2: My son, Jasper sometimes breaks his toys. I usually am the one who fixes them. Above are two wood bolts from his workbench. The threaded screws came out of the bolt heads. I just scraped out the glue from the holes, and cleaned up both sides with a rasp and some other things that probably weren't designed for such things. I added some wood glue, threw them in these clamps, and returned the screws to Jasper in the morning.
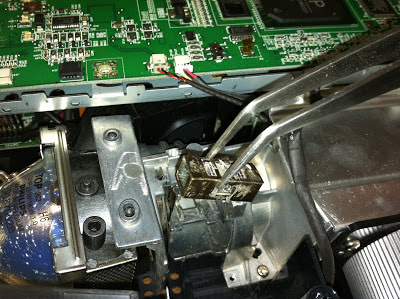
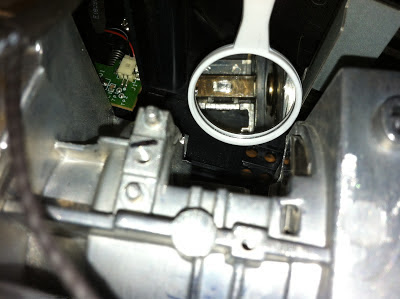
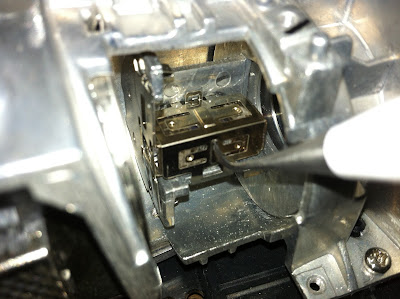
3: I had tried to fix my DLP projector a few weeks back. There was something in the light path making half of the image dim such that if you shook the projector, it would clear up a little. I tore it down, and right between the spinny color wheel and the mirrors in front of the DLP chip is this little mirror tube collimator. The glue holding the four front-surface mirrors to the rectangular metal box had failed, and the mirrors became loose. A couple weeks back, I had tried gluing it back together with epoxy, and it seemed to work, but a new, harsher shadow was in the projected image. I needed to get some dental tools, mainly the little mirror tool, to see what was going on. Sure enough, this little guy was aligned incorrectly. A bunch of futzing with it later, and it is now fully functional!
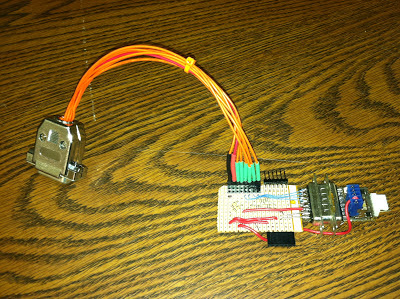
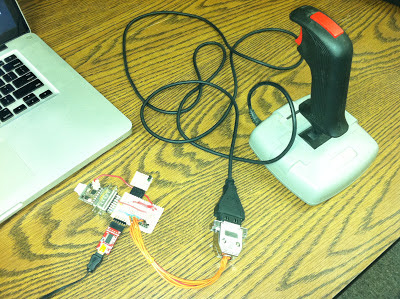
4: I have been building little breakout boards for my stepper motor controller-turned-arduino boards. I decided that for the animatronic bird project, I wanted to have a way to input joystick data. I made a small adapter to go from PC Gameport Joystick to the widget. ` I followed this project here <http://www.built-to-spec.com/blog/2009/09/10/using-a-pc-joystick-with-the-arduino/>`__ for the correct circuit -- basically just some pullups on the digital button inputs, and some pulldowns for the analog axis inputs. I only wired up the first X/Y pair as the widgets only have two analog inputs available. It was relatively simple to build. I had built the main breakout board the night before at home, and i made the orange-wire to Gameport connector cable at Interlock. With help from Nick, providing the old joystick, before I left i had written an auto-scaling display of the current joystick state. More about this to come in future posts.
All in all, it was a densely packed evening, with four mini-projects completed. Huzzah!
